


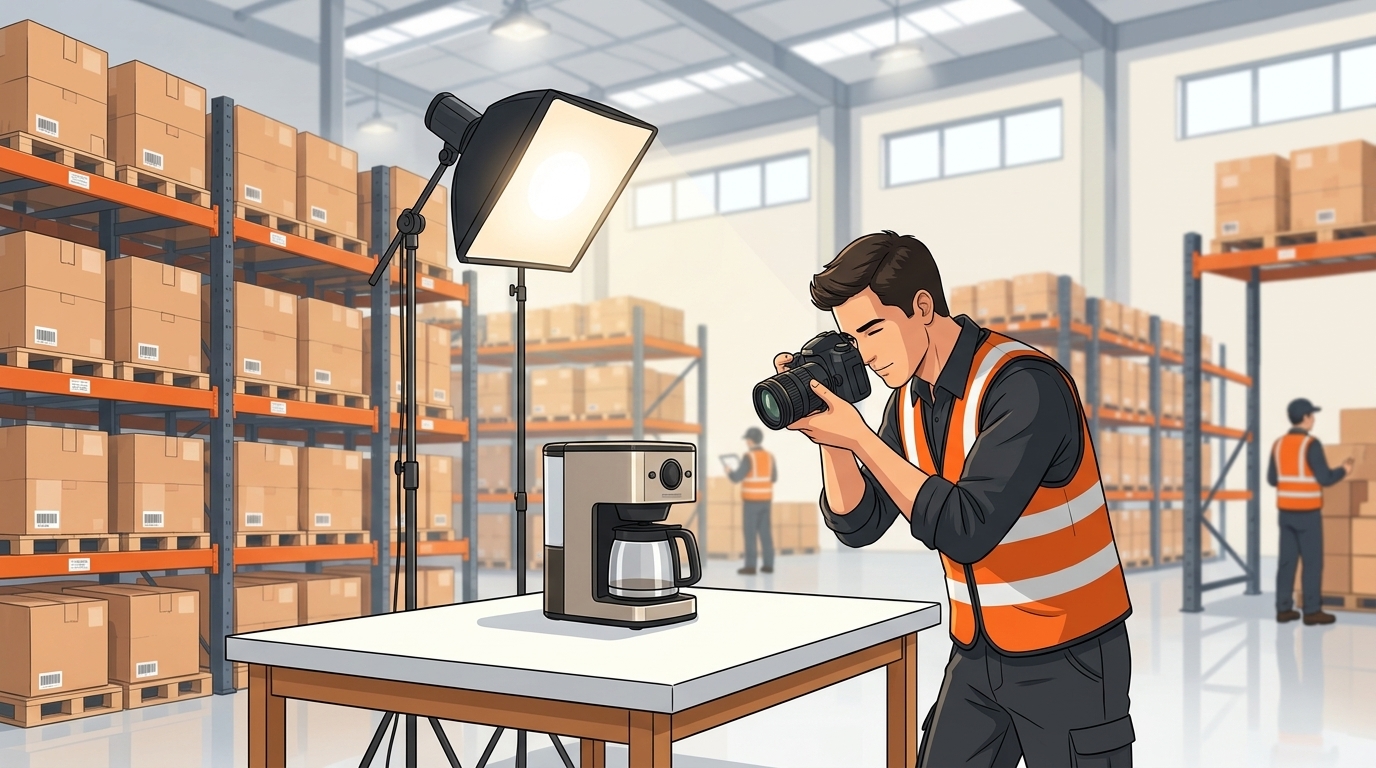
In e-commerce, product photography aims to make items look irresistible. In the liquidation auction business, product photography has a completely different mission: to provide accurate, unambiguous evidence of condition.
When you shoot liquidation goods, your goal is not glamorous styling. It is building trust with remote bidders who will never see the merchandise in person before bidding. High-quality, transparent imagery commands higher bids from serious resellers and virtually eliminates angry confrontations on pickup day.
Here is how to set up an efficient warehouse photo station that delivers high-fidelity photos in under 45 seconds per lot.
1. The Anatomy of a High-Velocity Photo Station
Do not let staff wander around the warehouse with cell phones snapping blurry, poorly lit photos on dusty concrete floors. Build a stationary, dedicated photography station:
[Inbound Cart] ──> [Motorized Turntable] ──> [Barcode Scanner] ──> [Outbound Staging]
                           ▲
[Fixed Overhead Softbox Lighting]- Motorized Turntable: A 24-inch motorized turntable allows the cataloger to capture 4 to 6 angles in seconds without walking around the table.
- High-CRI Lighting: Fluorescent warehouse bay lights create sickly green and yellow color casts. Install two 5500K daylight-balanced LED softboxes directly above the station to render true product colors.
- Neutral White/Gray Backdrop: A clean, matte vinyl backdrop eliminates visual clutter and keeps bidder attention focused squarely on the merchandise.
2. The Mandatory 4-Shot Sequence
Standardize your photography workflow with a mandatory shot checklist:
- Shot 1 (Hero Shot): Full product shot including retail packaging and main unit.
- Shot 2 (Spec Plate & Model Number): Crisp close-up of the manufacturer barcode, voltage rating, and serial number tag.
- Shot 3 (Box Contents): Overhead view showing whether cables, remotes, manuals, and internal trays are present.
- Shot 4 (The Honest Flaw): A tight, well-focused close-up of any dent, tear, missing part, or cosmetic scuff.
Documenting flaws does not kill your auction value—it attracts savvy buyers who factor minor repairs into their bids and guarantees they cannot claim “item not as described.”
3. Instant Barcode Pairing
Never save images to an SD card for manual download, renaming, and manual upload at the end of the day.
Your camera rig or tablet app should support instant QR lot pairing:
- Scan the Lot Label QR code with the tablet camera.
- Capture the sequence of 4 photos.
- Tap “Complete” to automatically compress, water-mark, and upload the photos to that exact lot record in your cloud auction database.
Using direct device-to-cloud pairing reduces cataloging labor from 5 minutes down to less than 40 seconds per lot.
Asked questions
Frequently asked questions
Key operational insights regarding this topic.
Aim for 3 to 5 images per lot: full front view, serial/specification plate, contents inside the box, and a macro shot of any cosmetic defect.
No. Never apply cosmetic filters or saturation enhancements; photos should represent the raw, unvarnished physical condition of the item as it sits on the floor.
Ruggedized Android tablets or iPhones with industrial drop-proof cases and wide-angle lenses offer the best balance of speed, direct cloud upload, and durability.